
If you have an Instagram account, then you should definitely add it to your Wordpress blog or website to gain more followers. Plus, it makes every blog so much prettier! 💖 Here is a quick tutorial on how to add an Instagram widget to WordPress.I have tried several Instagram widgets, but in my opinion, WP Instagram Widget is the best! So in this tutorial, that is the one I'm using.
Step 1: Download the WP Instagram Widget
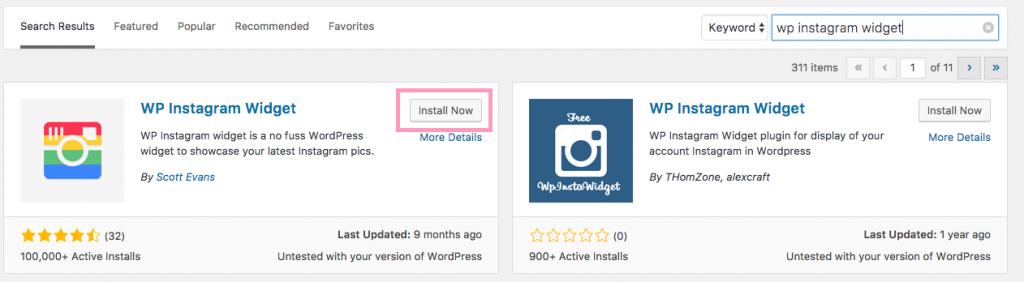
You can either download the .zip file from the official website and then upload it to your Plugins or you can directly go to your Wordpress Sidebar > Plugins > Add new and type WP Instagram. After that, click on the install now button.
Step 2: Activate the plugin
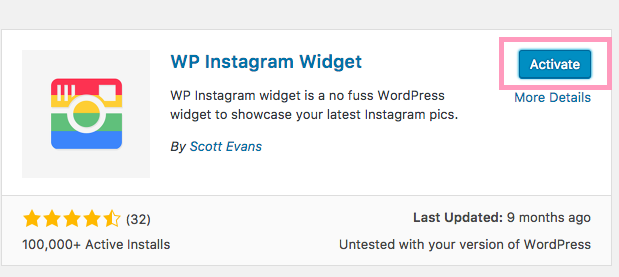
This is a small, but a very important step in the process ;) After you have installed the plugin, go ahead and activate it.
Step 3: Add the widget to your Wordpress sidebar or footer
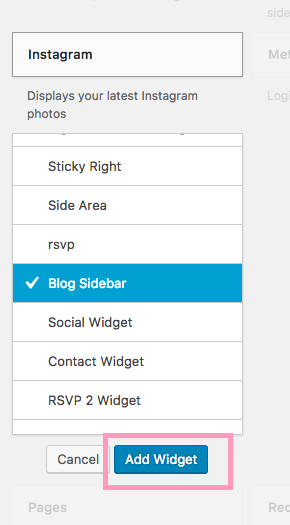
Go to your WP admin homepage and then from the sidebar area choose Appearance > Widgets. This will take you to the Widgets overview. From the list of Widgets, choose ' Instagram', then the area where it should be added to and click on Add Widget.
Note: Widgets can be added only to widgetized areas in your Wordpress theme. These vary from theme to theme. So, depending on what theme you have, you will be able to add the Instagram widget to different areas of the website. My theme, for example, has a lot of options, so I am able to add this widget to my sidebar, header, footer etc.
Step 4: Configure the Instagram Widget
After you have added the Instagram widget to your desired area, you need to configure it so it shows your images.
4.1. Title
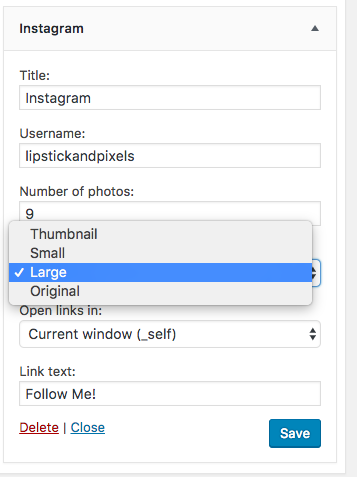
You can name your widget if you want. The title will appear above the widget area. I personally recommend leaving this blank. It just looks prettier, plus it is clear that this is your Instagram feed.
4.2. Username
Type in your Instagram username. Don't use any special characters (such as the @ symbol), just the name. For example, mine is lipstickandpixels.
4.3. Number of photos
Choose the number of photos you want to be displayed. I usually choose 6 or 9.
4.3. Photo size
Choose the size of the photos. This is up to you. You can have thumbnail-sized images or big images. Just play around and see what looks best on your website.
4.4. Open links in ...
Choose if the image links will open in the same window or in a new one. I recommend you set up this setting to "new window". That way the website visitors are not immediately taken to Instagram and can continue browsing your site in another tab.
4.5. Link text
Finally, you can name the follow button. Be creative here!After you have filled in all the information, don't forget to click on the SAVE button!
That's it! Now you can check out your homepage or blog and see how your Instagram feed looks! If you are not happy with the result, just go back to the Widget settings and tweak them.Happy Instagramming :)
xx Iglika